Working plan
- Let’s plan the project
- The Scratch’s programming environment
- Let’s create some characters
- Characters’ dialogues
Let’s plan the project
![]() Step by step
Step by step
- Sign in.
- Create a new project and give it the name postcard.
- Click on share to let your teacher see it.
- You will see this space:
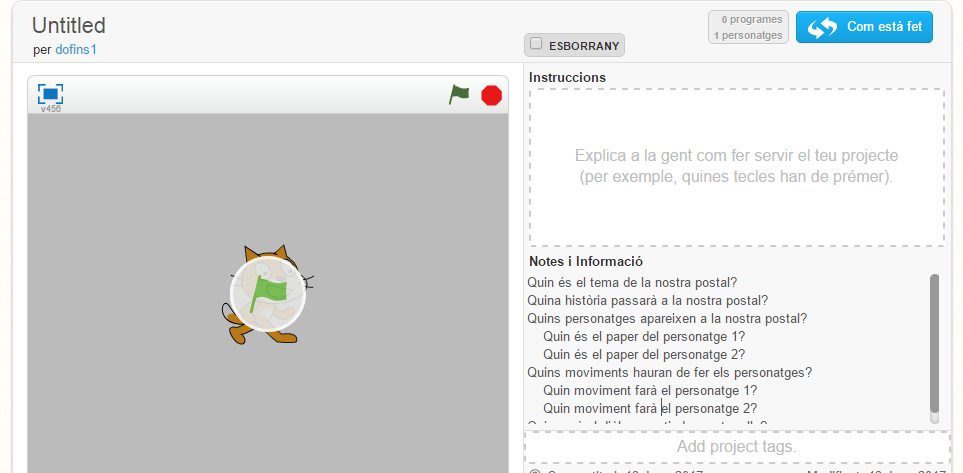
- We will use the sections Instructions and Notes and Credits to describe how we want our postcard to be.
- In the section Notes and Credits, we will write about:
- What’s the topic of our postcard?
- What’s the story about?
- What are the story’s characters?
- What’s the role of character 1?
- What’s the role of character 2?
- What movements will make the characters?
- What movement will make character 1?
- What movement will make character 2?
- What will be the dialogue about?
This planning may change while we are creating our postcard. So don’t worry about planning in detail because at the end of each session we will reflect upon what we are learning and we will make our project grow.
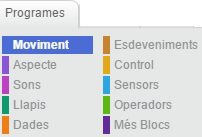
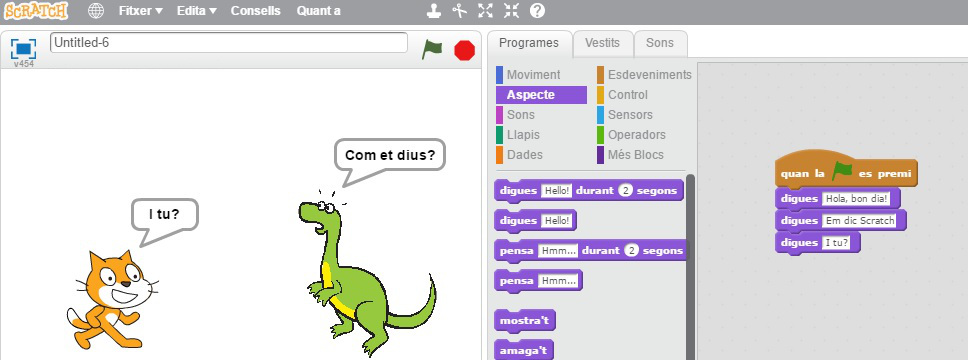
How is the Scratch programme inside?
Let’s have a look how it is inside:
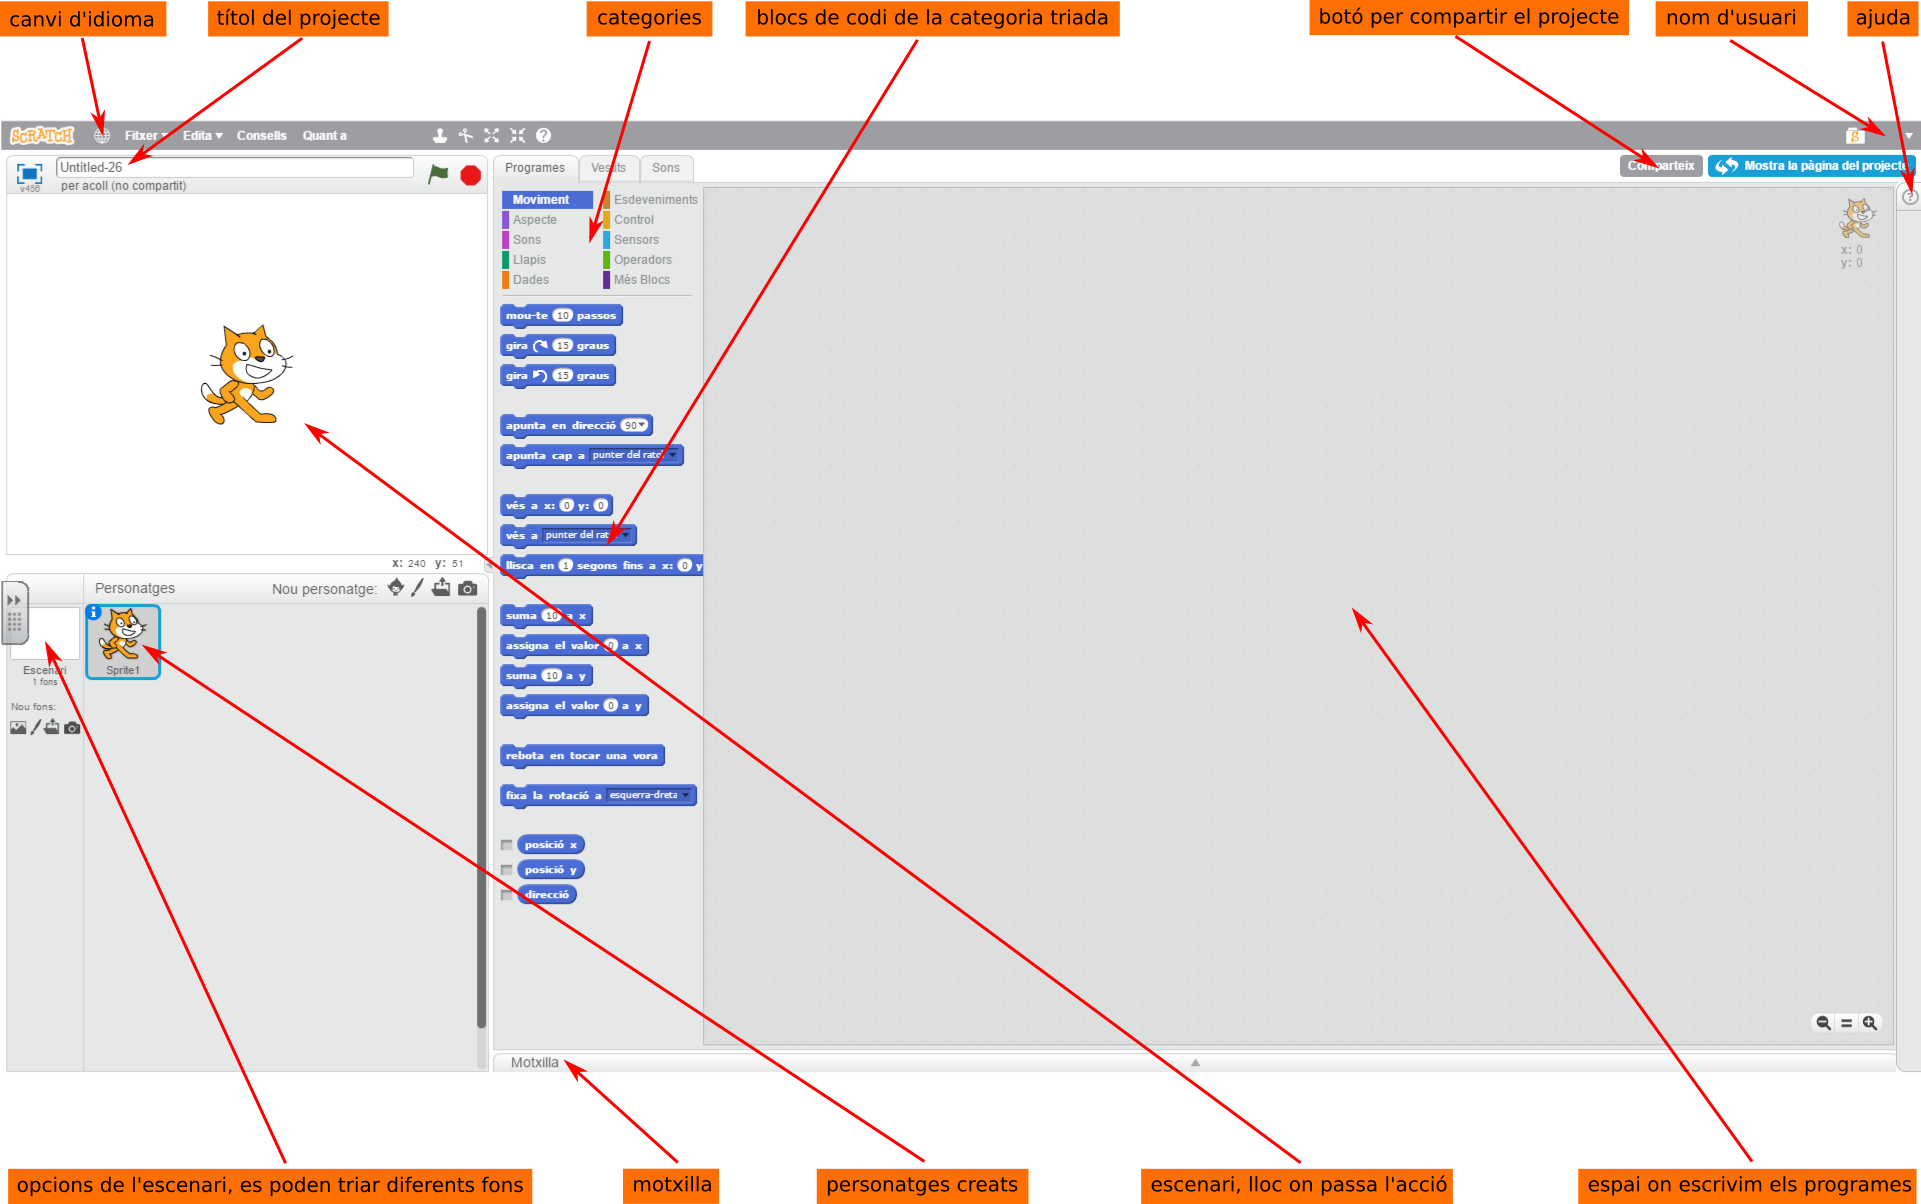
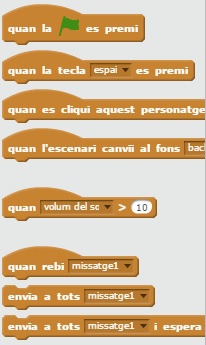
The Scratch uses blocks to build the programme. These blocks are organized by categories:
![]() Step by step
Step by step
- Sign in.
- Create a new project and give it the name m1repte21.
- Explore the option of every category and click on the question mark to get help.
- Click on Blocks.
Keep in mind that the programmes always start when there is an event, usually when we click on the green flag.
![]()

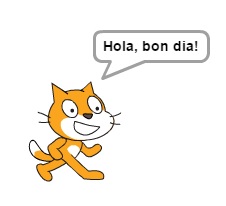
We have to make our character, the Scratch’s cat, to say Hello, good morning! when we click on the green flag and Bye, bye! when we press on “z”.
We will do it in the project that we have called m1repte21.
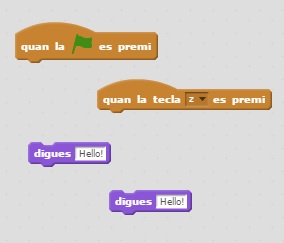
![]() Clue: We will need two events blocks and one looks block that we will use twice.
Clue: We will need two events blocks and one looks block that we will use twice.
Let’s add characters
There are different options to add characters. Choose one character from the Scratch’s gallery.
We will go on working on m1repte21.
![]() Step by step
Step by step
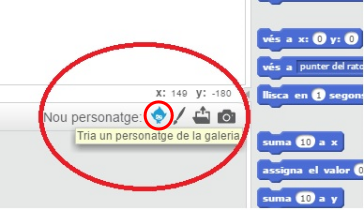
- Click on the option to choose a character from the gallery:
- We will find a screen full of Scratch’s characters. They are classified into categories:
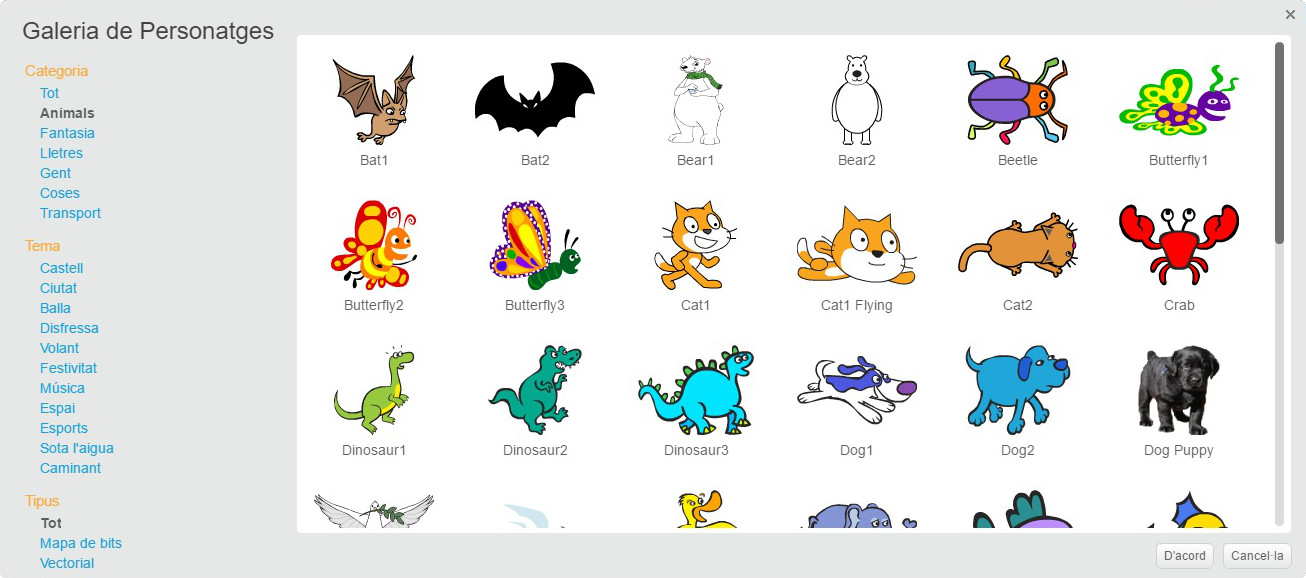
- Choose any character.
- Now we have two characters: the Scratch’s cat and the one we have chosen.
- If we want to remove or duplicate a character we can do it just by clicking on the right side of your mouse.
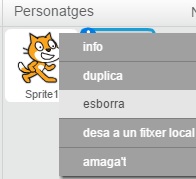
- We can also make the bigger or smaller with the options just above the setting.

![]()

We have to use 5 characters in our project m1repte21: two transports, one sea animal, dos mitjans de transport, un animal del fons del mar, one land animal and one person.
The characters can speak among them
Now, we will write a dialogue!
In the Scratch programme we will MIX different instructions PASTING one under the other, so that they will be executed in an orderly way. We will call it SEQUENTIAL STRUCTURE.
![]()

We will go on working on our project m1repte 21.
- We will make two of our characters have a little conversation.
- The programme must work just pressing on the green flag.
- We cannot use any other event.
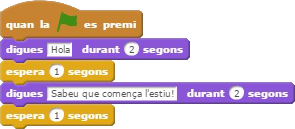
- We need to include a waiting time during the dialogue. We can use these blocks:

In this block of the CONTROL category the number of seconds will say the waiting time before going on with the execution
In this block of the LOOK category the number of seconds will say the time the bubble will be showed.
![]() Clue: Can we calculate how many seconds a character must wait before speaking?
Clue: Can we calculate how many seconds a character must wait before speaking?
![]() Our project is growing…
Our project is growing…
Now that we know how to add characters and how to make them speak, we can check our postcard’s descriptio and change it or extend it if necessary.